Easy way to compress photos for your WordPress website using Facebook
30 June 2018Here’s a little tip for reducing the size of large images for your website – especially WordPress websites – without needing to buy software or learn how to use a graphics programme.
For this tutorial, you will need an image that’s over 3000 pixels wide or high (meaning it’s over the standard pixel limit that WordPress allows) and ideally over 3MB in size. Please read the warning below if you are uploading photos with friends’ faces in the image.
You will also need a Facebook account.
You’ll probably find this easier to do through a desktop computer. We’re using a Windows 10 operating system, but Macs should work similarly too.
Step One
To start, save the image you want to reduce in size to your hard drive, somewhere you’ll remember it.
Step Two
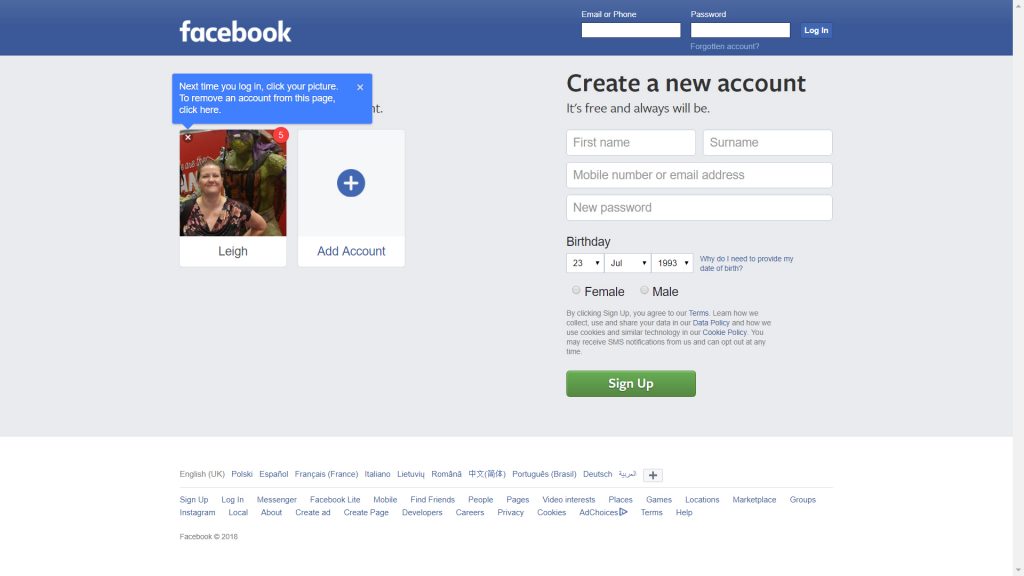
Visit facebook.com and login. You will be using your personal account so that the photos can be kept private. Business Pages do not allow for private postings.
Step Three
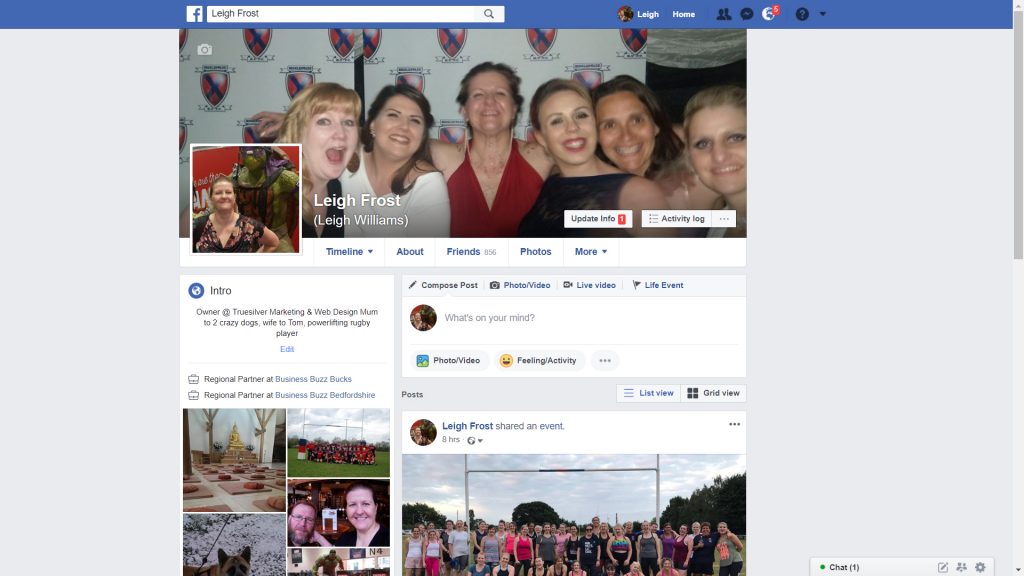
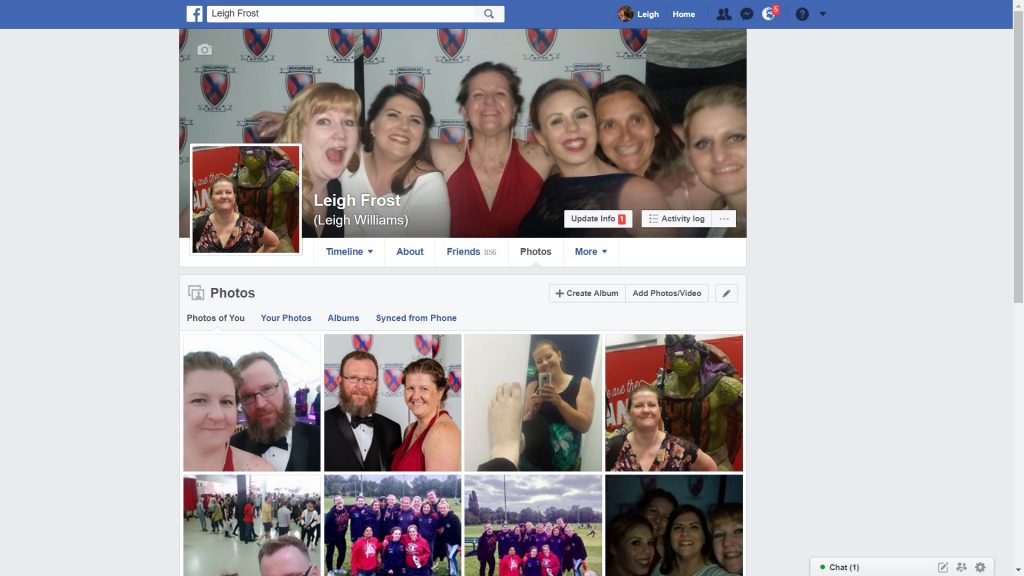
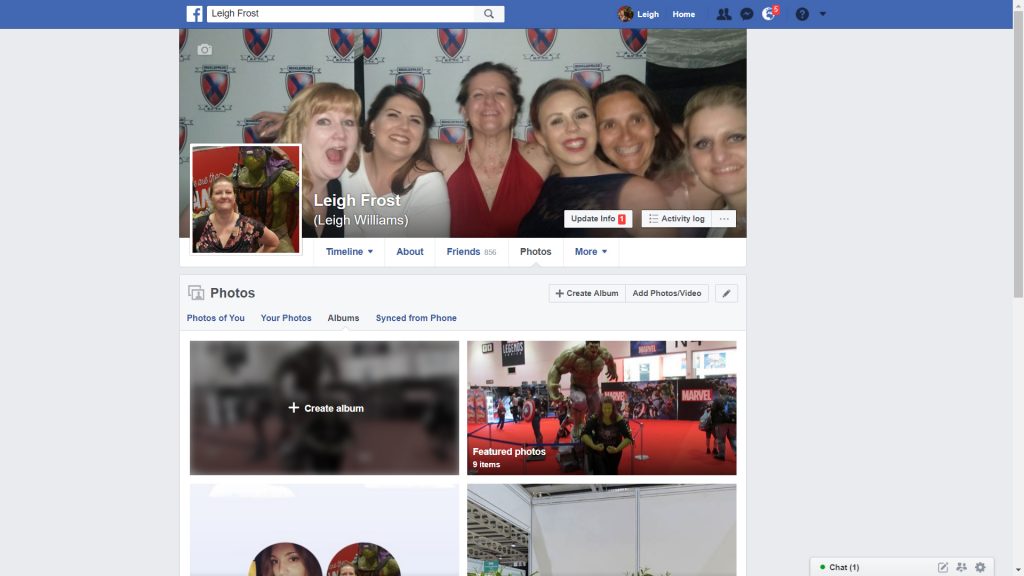
Go to your photos section and click on albums. Here’s a shortcut: https://www.facebook.com/truesilver/photos_albums
Step Four
Create a new album by clicking on the ‘Create Album’ option.
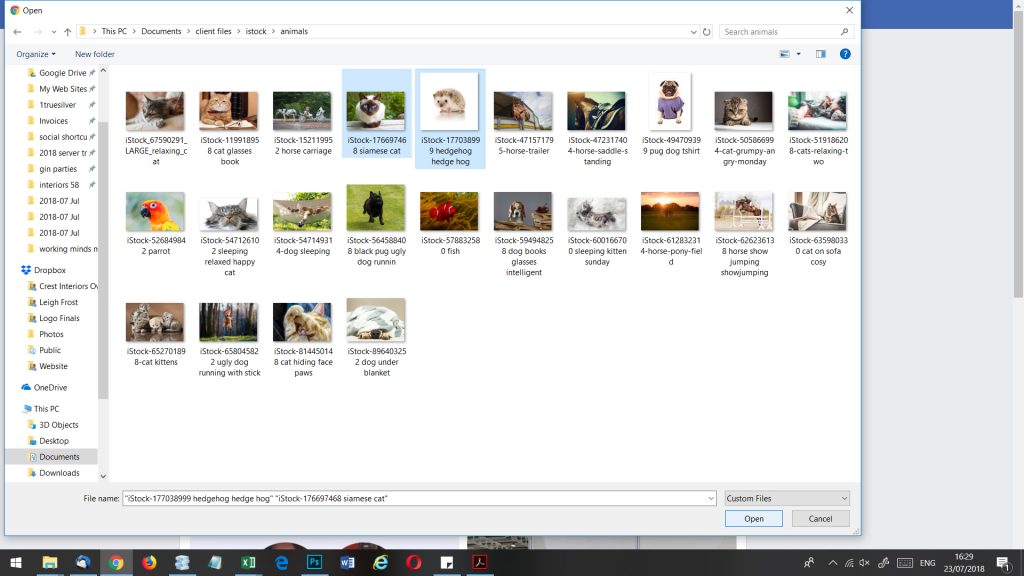
Step Five
You’ll then need to upload your photo(s). Facebook can be a little glitchy if you’re uploading more than ten photos, so I suggest for the purpose of this tutorial you only upload a maximum of four. You can add more later.
A word of warning:: There is a privacy issue with Facebook’s auto-tagging system. If you are uploading images that contain faces of friends, there is a possiblity that they will be tagged and the privacy will not work. If you’re ok with this fine, but as yet Facebook has not offered a solution.
Step Six
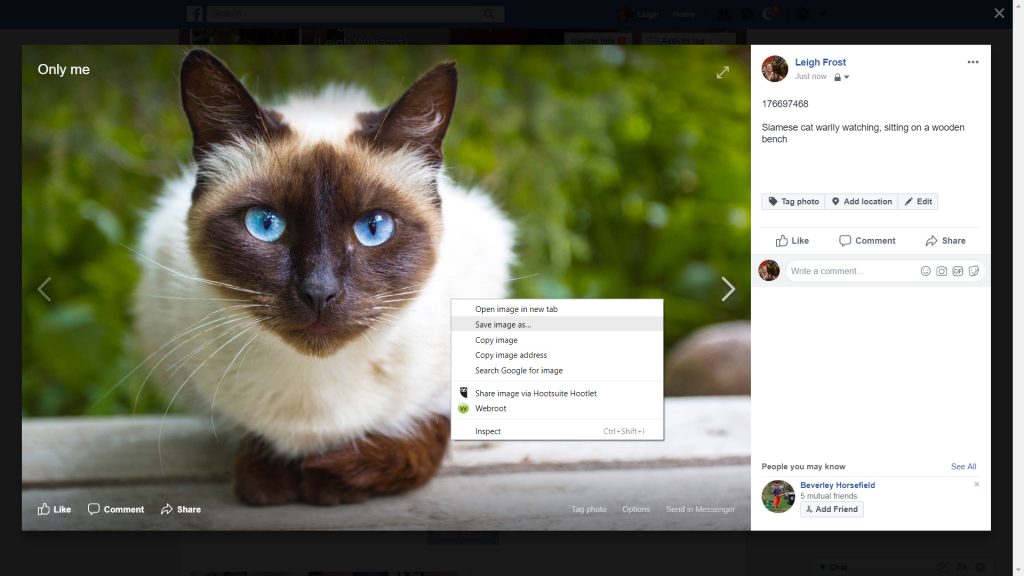
Name the album something like ‘Only me’ with a description that will remind you that the album can only be viewed by you.
Step Seven
Now, in the bottom right of the screen you’ll see next to the blue ‘post’ button, a drop down option that will either say ‘Public’, ‘Friends’, ‘Only me’ or ‘Custom’. Click on that box and select ‘only me’

Step Eight
Double check the details on the album, that no one has been tagged if you want to keep it private and that no location has been tagged. Once you’re happy, click ‘Post’
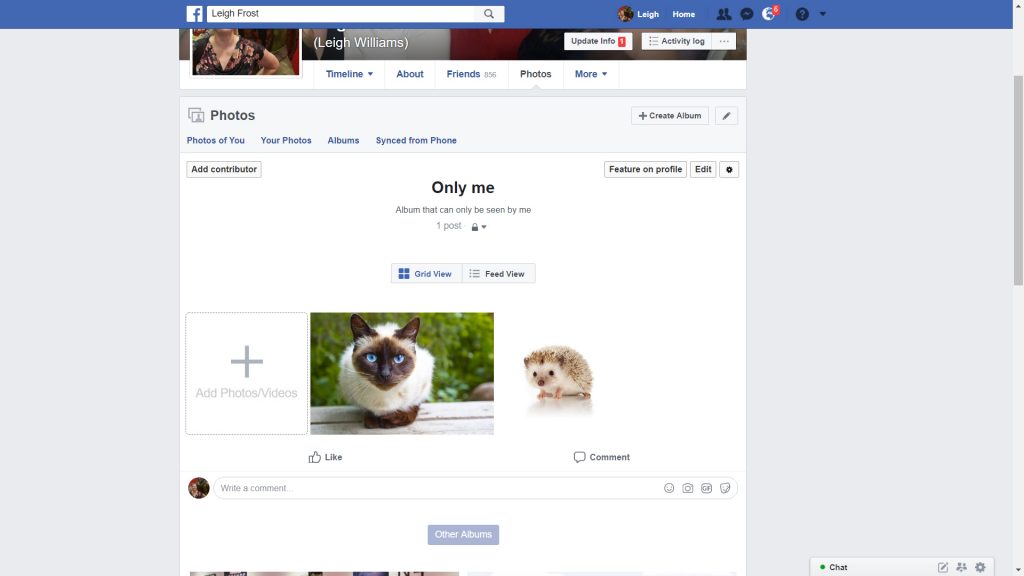
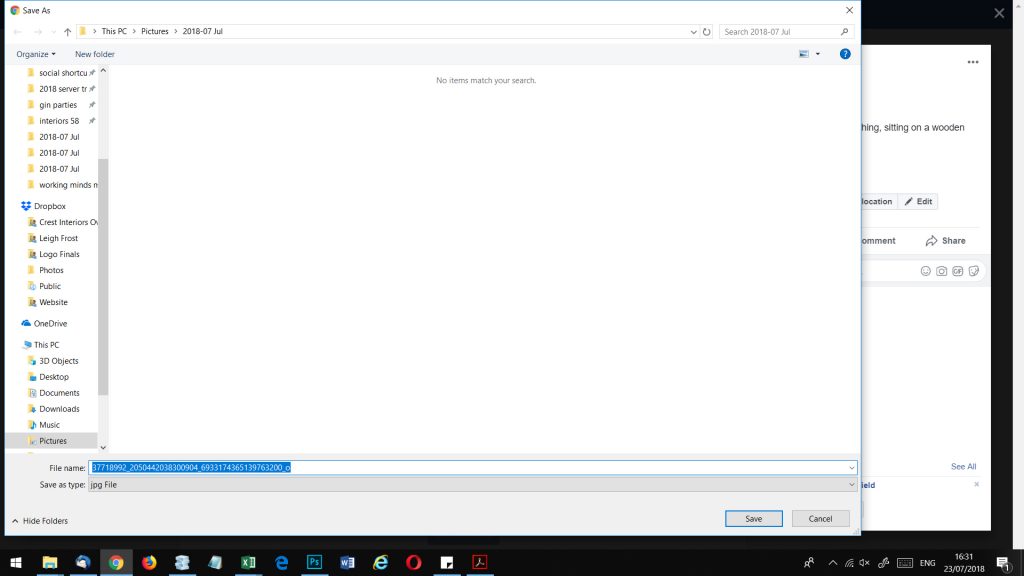
Step Nine
Your album has now been created and you can post any images in the future that you want to easily compress. All you need to do now is click through each image you’ve uploaded, then use the right click button on your mouse and select ‘Save image as’. Remember to save the image to somewhere you’ll remember easily.
Please note, Facebook changes it’s processes on a regular basis. This tutorial is correct at the time of posting but may change later on. If you do spot any inconsistencies when using this, please feel free to contact us via our contact page.
Happy editing!

